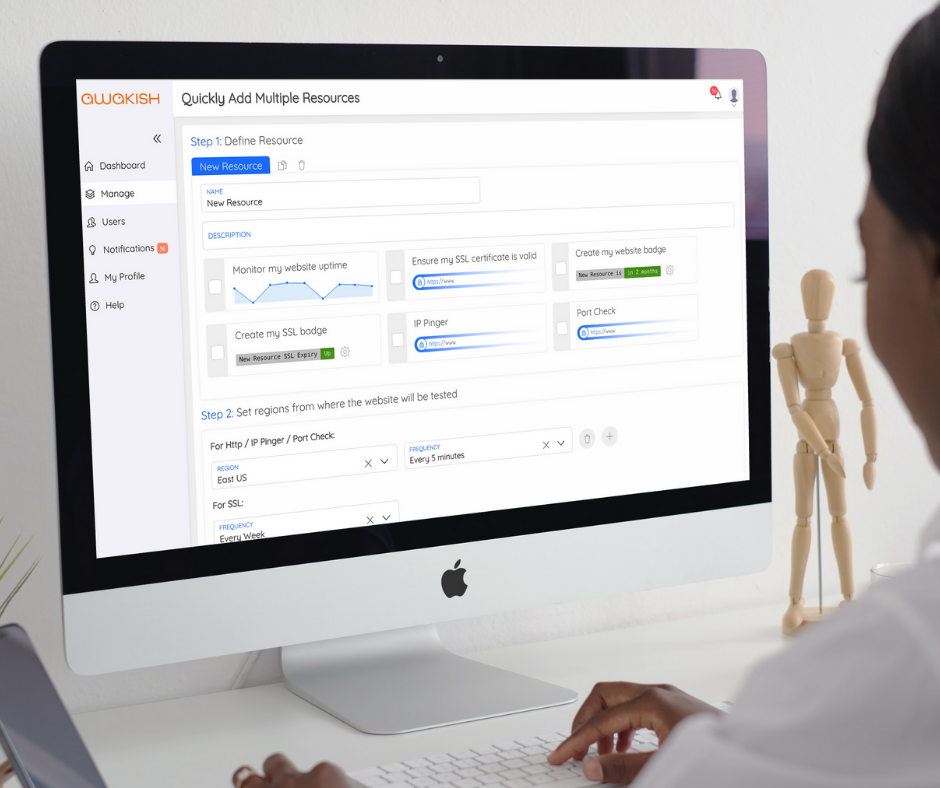
So, you have signed up for Awakish, now what? It’s time to start monitoring! Quickly add one or multiple resources in three steps:
Step 1: Define Resource
Create a name and description for your new resource that will be easy for you to keep track of. Next, select one or more (or all!) of the following to be monitored on your site:
Monitor My Website Uptime
Ensure my SSL Certificate is Valid
Create my Website Badge
Create my SSL Badge
IP Pinger
Port Check
Step 2: Set Regions from Where the Website Will Be Tested
For HTTP/IP Pinger/Port Check, choose a region (West US, East US, Europe, or Southeast Asia) and a frequency (every 1 minute or every 5 minutes). For SSL, frequency options are every day and every week.
Step 3: Enable Notifications
The best way to be alerted immediately about the status of your website is to enable notifications. Click notifications on and add your email and phone information to receive any updates from Awakish.
—-
To manage more than one resource, easily create monitoring groups and add similar assets together. Each monitoring group is rendered separately on the dashboard menu, which allows you to get an overview when using the dashboard view.
Set-up typically takes less than 5 minutes, which means your website will start being monitored right away.
Additionally, as security is one of our top priorities, our login service itself is hosted by Microsoft with your password secure and never known to us.
—-
Still have questions? Feel free to reach out via email, Twitter, LinkedIn, or our website chat (check out the bottom right corner!) to get the most out of your Awakish account.
Happy monitoring!


